Return to Resources
Implementing Wait Time Tracking for Restrooms
Nov 18, 2022
3 min read
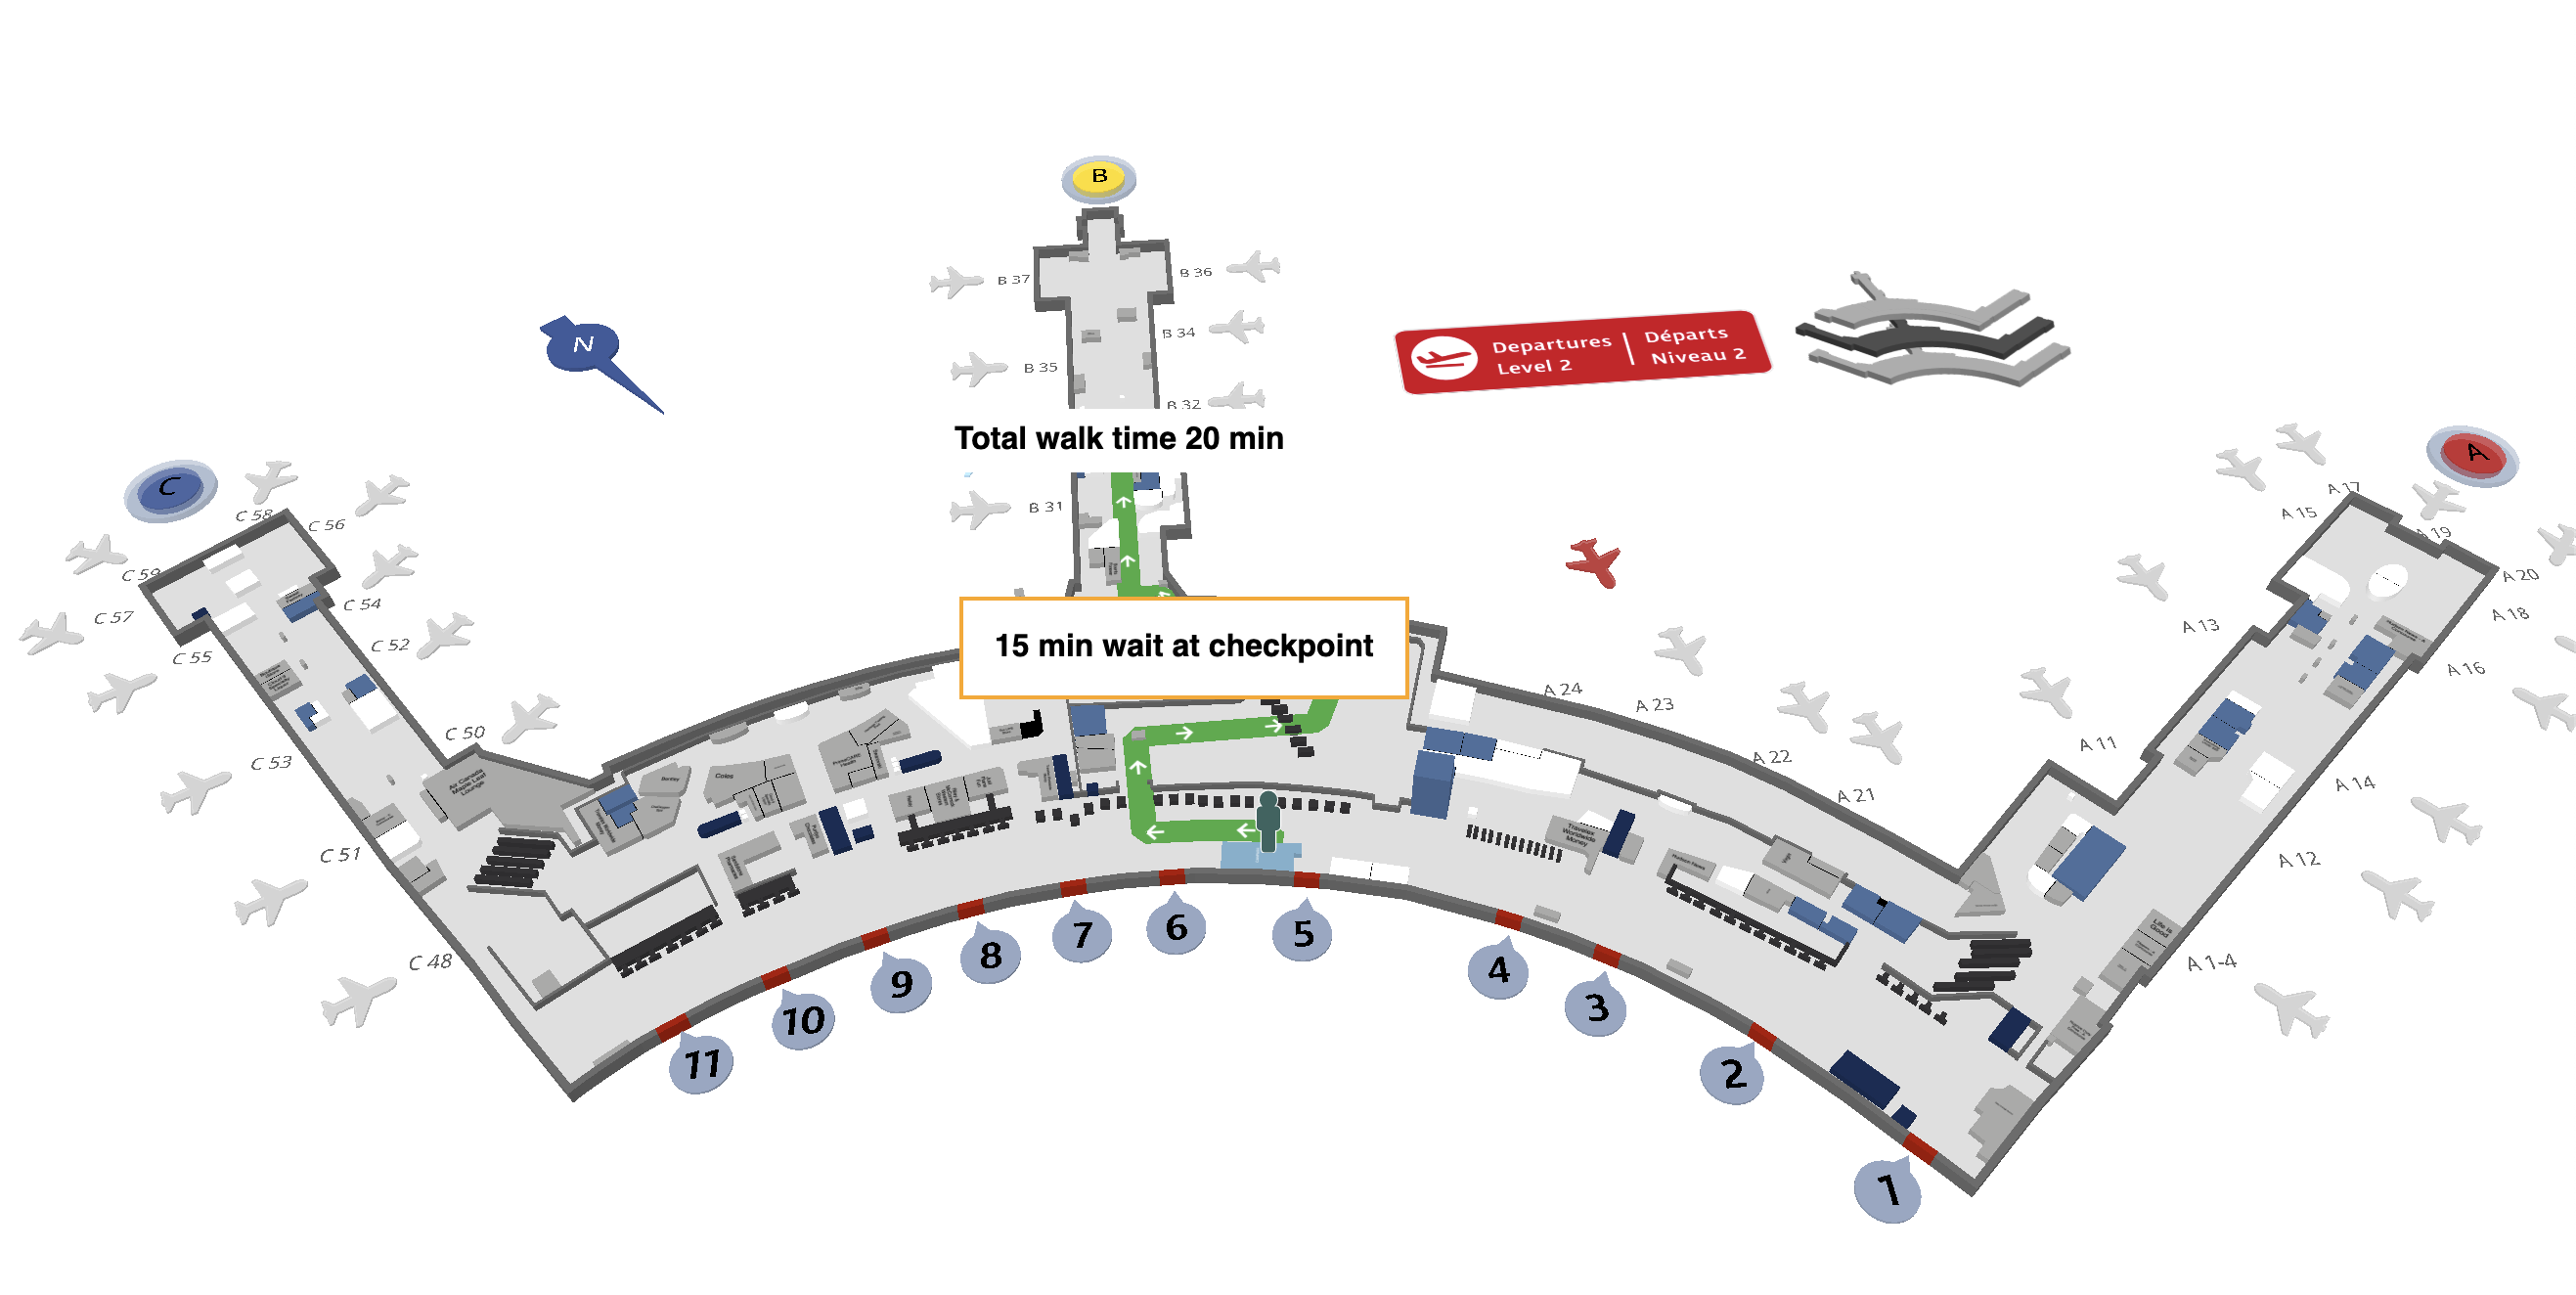
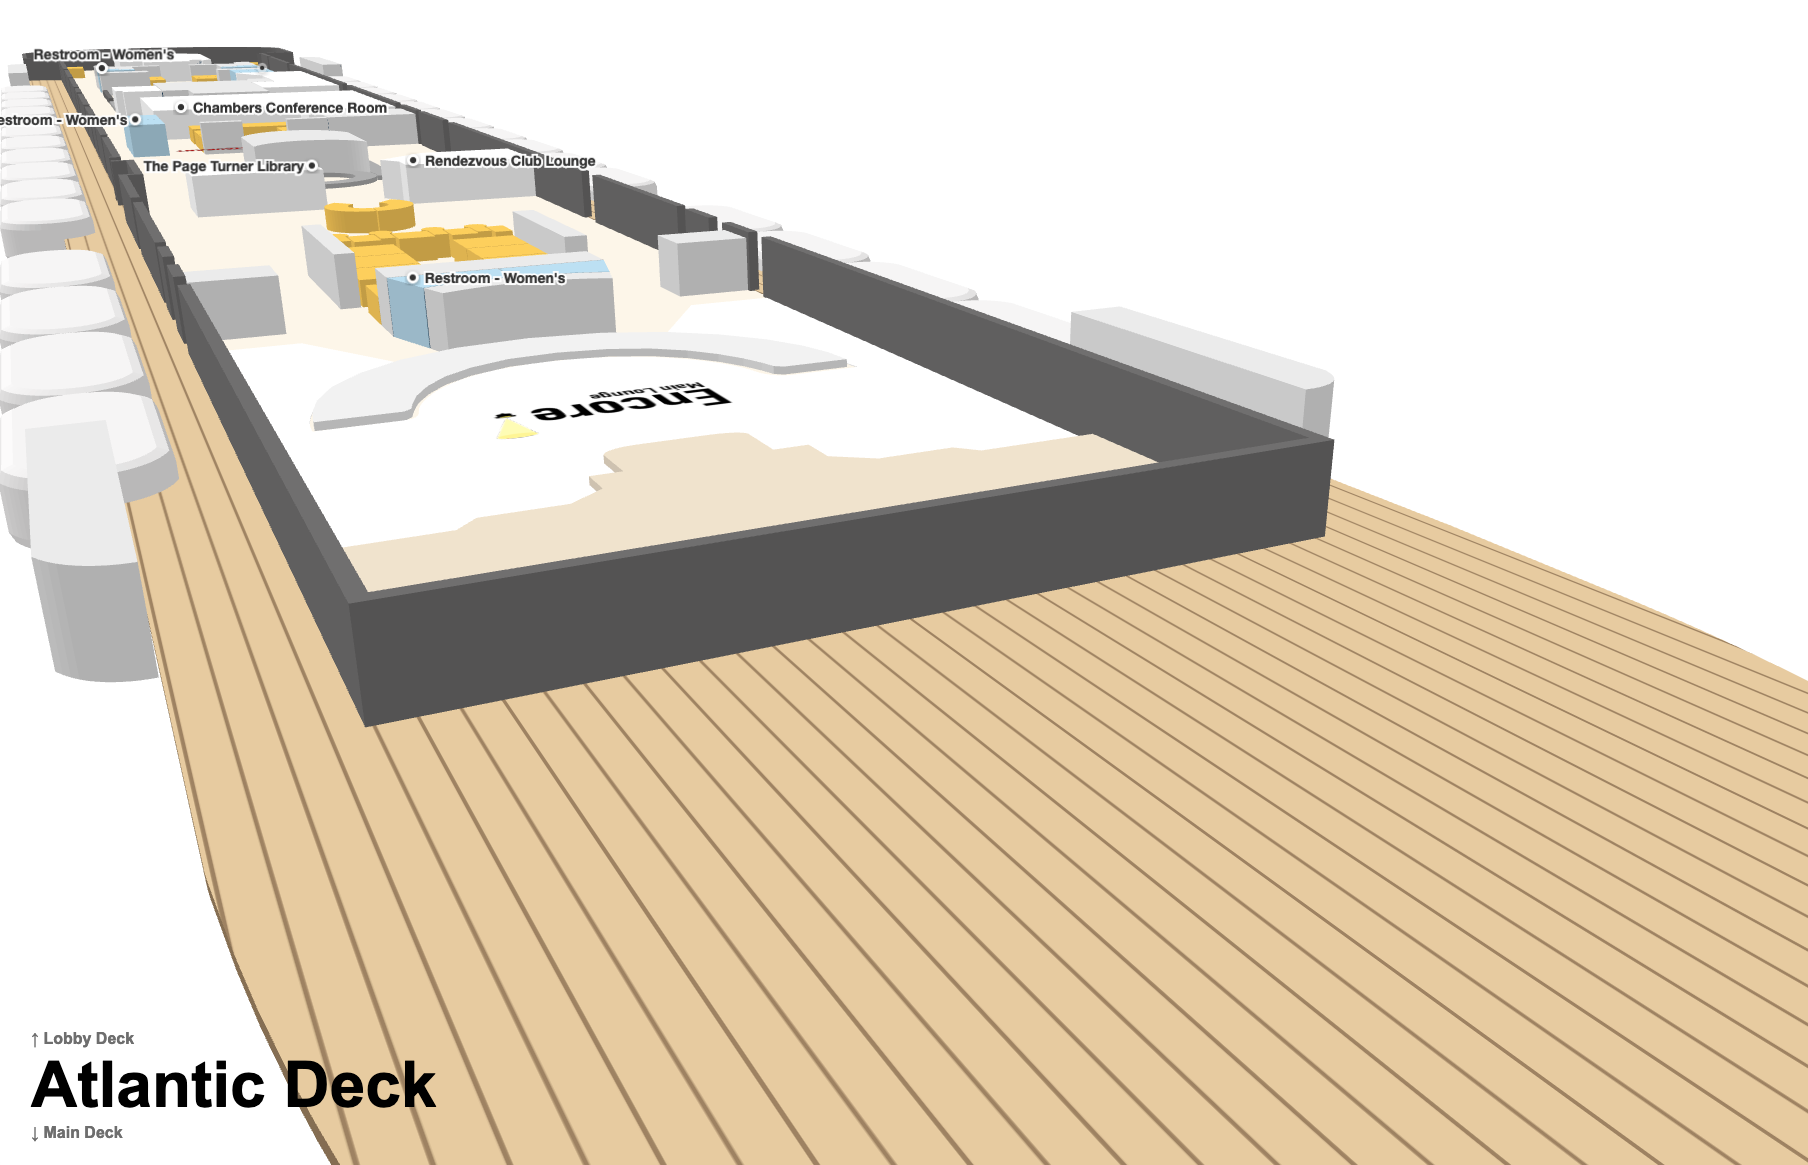
Beyond showcasing your venue or in-person event, you can provide guests with wait time tracking for restrooms using Mappedin SDKs. Are restrooms open, are there long lineups, how long would you have to wait, and how far would you have to go? Guests can easily access this information, locate the closest available restroom, and avoid waiting in long lines. Here's how.
Introduction
The Mappedin SDK provides tools to create this experience, overlayed with our indoor maps and indoor wayfinding solution. We can seamlessly integrate data from secondary sources overlayed on top of the map rendered by the SDK.
In this blog post we will walk through the process of setting up the logic to implement wait times, generating multiple paths on one map and displaying interactive markers.
Journeys
First, we need to create a function to return a sorted array of times and directions for all possible routes between the starting location and destination. This is where you can overlay data coming from your own custom database. Here, we are randomly generating wait times along with a travel time based on the average walking pace of 85m per minute.
function generateAllJourneys( startLocation: MappedinLocation, endLocation: MappedinLocation) { const journeys = endLocation.polygons .filter((p) => p.map === mapView.currentMap.id) .map((p) => { const directions = startLocation.directionsTo(p);
// Random wait time + Time to travel at 85 meters / minute (Base on average walking pace) const time = randomNumber(1, 30) + Math.round(directions.distance / 85); return { p, directions, time }; });
journeys.sort((a, b) => { if (a.time === b.time) { return a.directions.distance - b.directions.distance; } else { return a.time - b.time; } }); return journeys;}Wait Time Markers
Next, we need a function to generate the markers. These markers are unique since users can interact with them through the use of a button. To make sure that users can interact with the button in the marker, ensure you set pointer-events: all.
The GO button will draw a Journey from the starting position to a restroom a user selected, from the list of options available. To add this functionality, we will assign a function to it that will clear the map of markers using removeAllMarkers() and call Jourey.draw(directions) to draw the stylized wayfinding path. While it looks great as is, we want to make the experience more complete by adding a camera focus encompassing the journey, starting polygon and destination polygon.
function createWaitTimeMarker( coord: MappedinNode, time: number, color: string, directions: MappedinDirections, startPolygon: MappedinPolygon, endPolygon: MappedinPolygon) { const marker = mapView.createMarker( coord, `<div id="marker"> <button id="time-text" style="background-color: ${color};">Time: ${time} min </button> <button id="go-button" style="pointer-events: all">GO</button> </div>` ); marker.updateDimensions(); // Updates marker bounding box for collision detection marker ._el!.querySelector("#go-button")! .addEventListener("click", function () { mapView.removeAllMarkers(); mapView.Journey.draw(directions);
// Adjust camera to zoom into start polygon, end polygon and the journey mapView.Camera.focusOn({ targets: { polygons: [startPolygon, endPolygon], nodes: directions.path }, cameraOptions: { tilt: 0 } }); });}The styling of the marker can easily be customized with CSS.
#marker { display: flex;}
#time-text { padding: 10px; font-weight: bold; color: white; border: 3px solid white; border-radius: 12px 0 0 12px; border-right: none; cursor: none;}
#go-button { padding: 10px; font-weight: bold; color: white; border: 3px solid white; border-radius: 0 12px 12px 0; border-left: none; background-color: #0180d4;}
#go-button:hover { color: white; background-color: #66b2e5;}Populating the Map
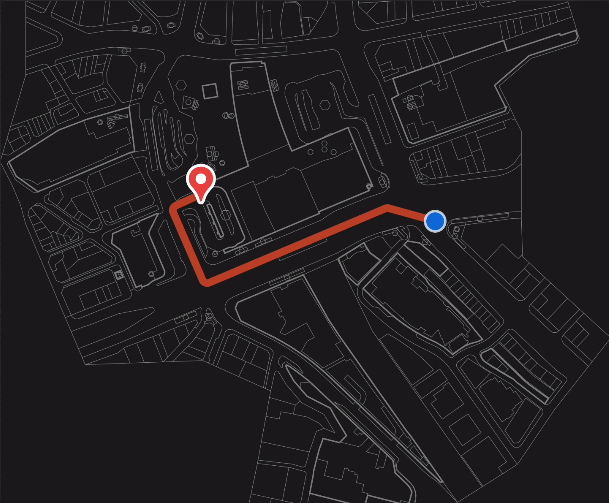
The last step is to populate the map with all the different path options and wait times. The colors are returned based on the index and list of hex codes defined earlier on. As we loop through the wayfinding options, we want to make sure the shortest path is the most prominent one, while the others are less prominent. The shortest path will use the Journey.draw() function, while the rest will use the drawPath() function to keep them simple. It is important to use this first before using the mapView.drawPath() function for remaining paths.
for (let i = 0; i <= numOfLoc - 1; i++) { const loc = journeys[i]; const pathColor = getPathColour(i);
createWaitTimeMarker( loc.directions.path[loc.directions.path.length - 1], loc.time, pathColor, loc.directions, startLocation.polygons[0], loc.p );
if (i === 0) { mapView.Journey.draw(loc.directions, { pathOptions: { color: pathColor } }); } else { mapView.drawPath(loc.directions.path, { color: pathColor, flattenPath: true, nearRadius: 1.6 - 0.1 * i // Reducing path radius size with each increase in wait times to avoid overlapping paths }); } }With approximately 150 lines of code, we were easily able to create a unique multi-option wayfinding application for restroom wait and travel times. Contact us to get started with our SDKs, and head over to our Developer Portal to explore our SDK capabilities in real-time.


